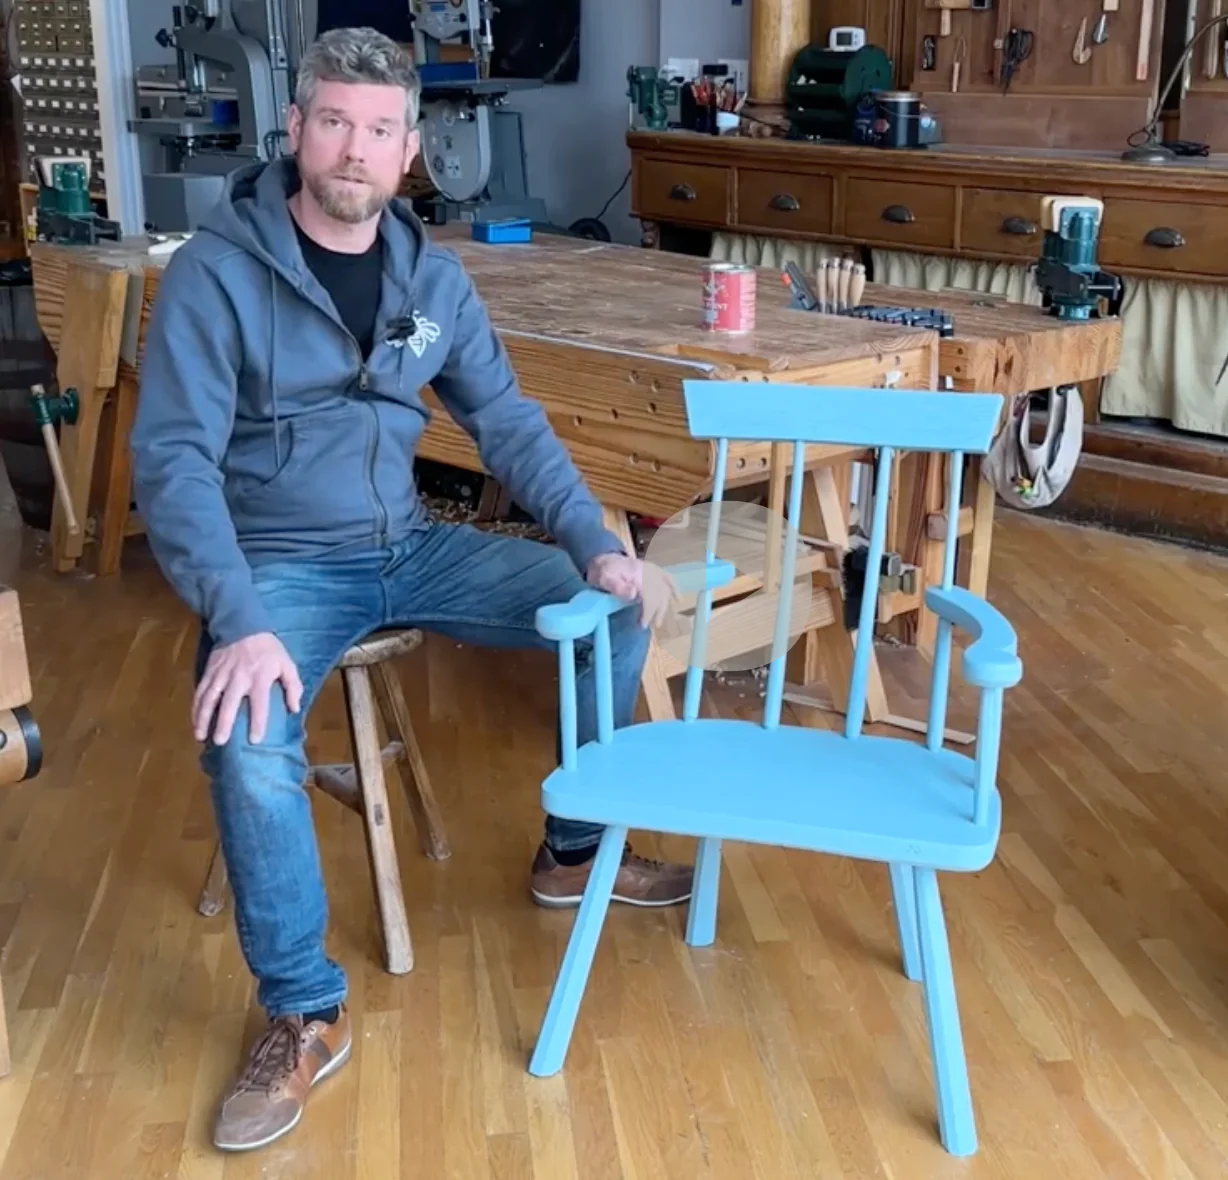
Video: Make a Chair from Green Wood with Rudy Everts
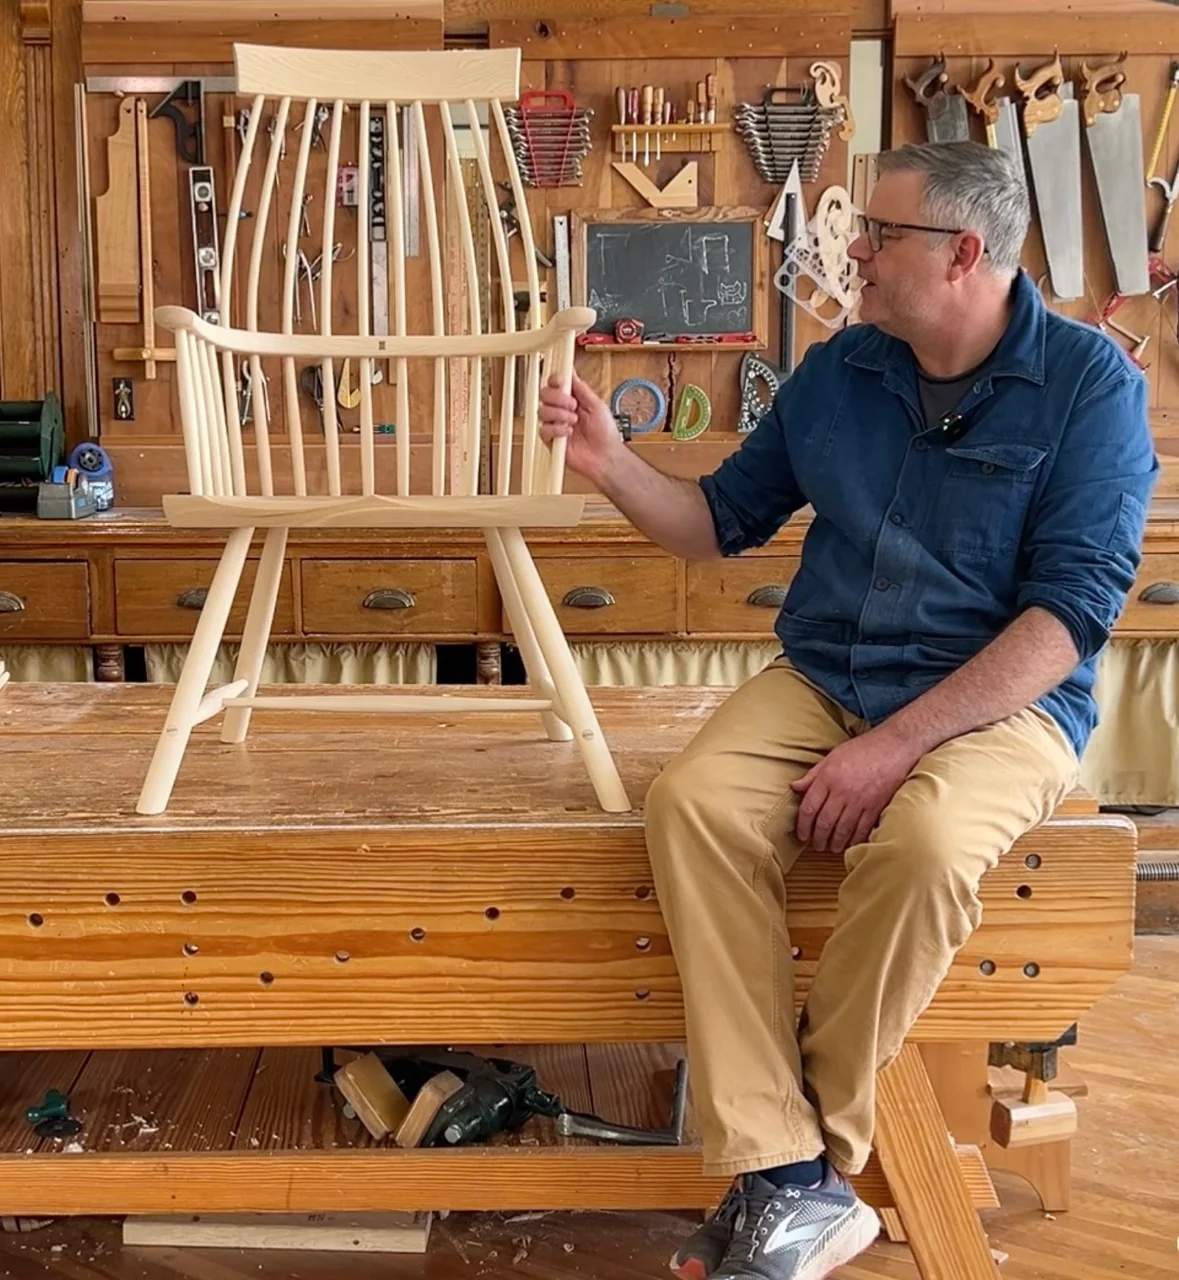
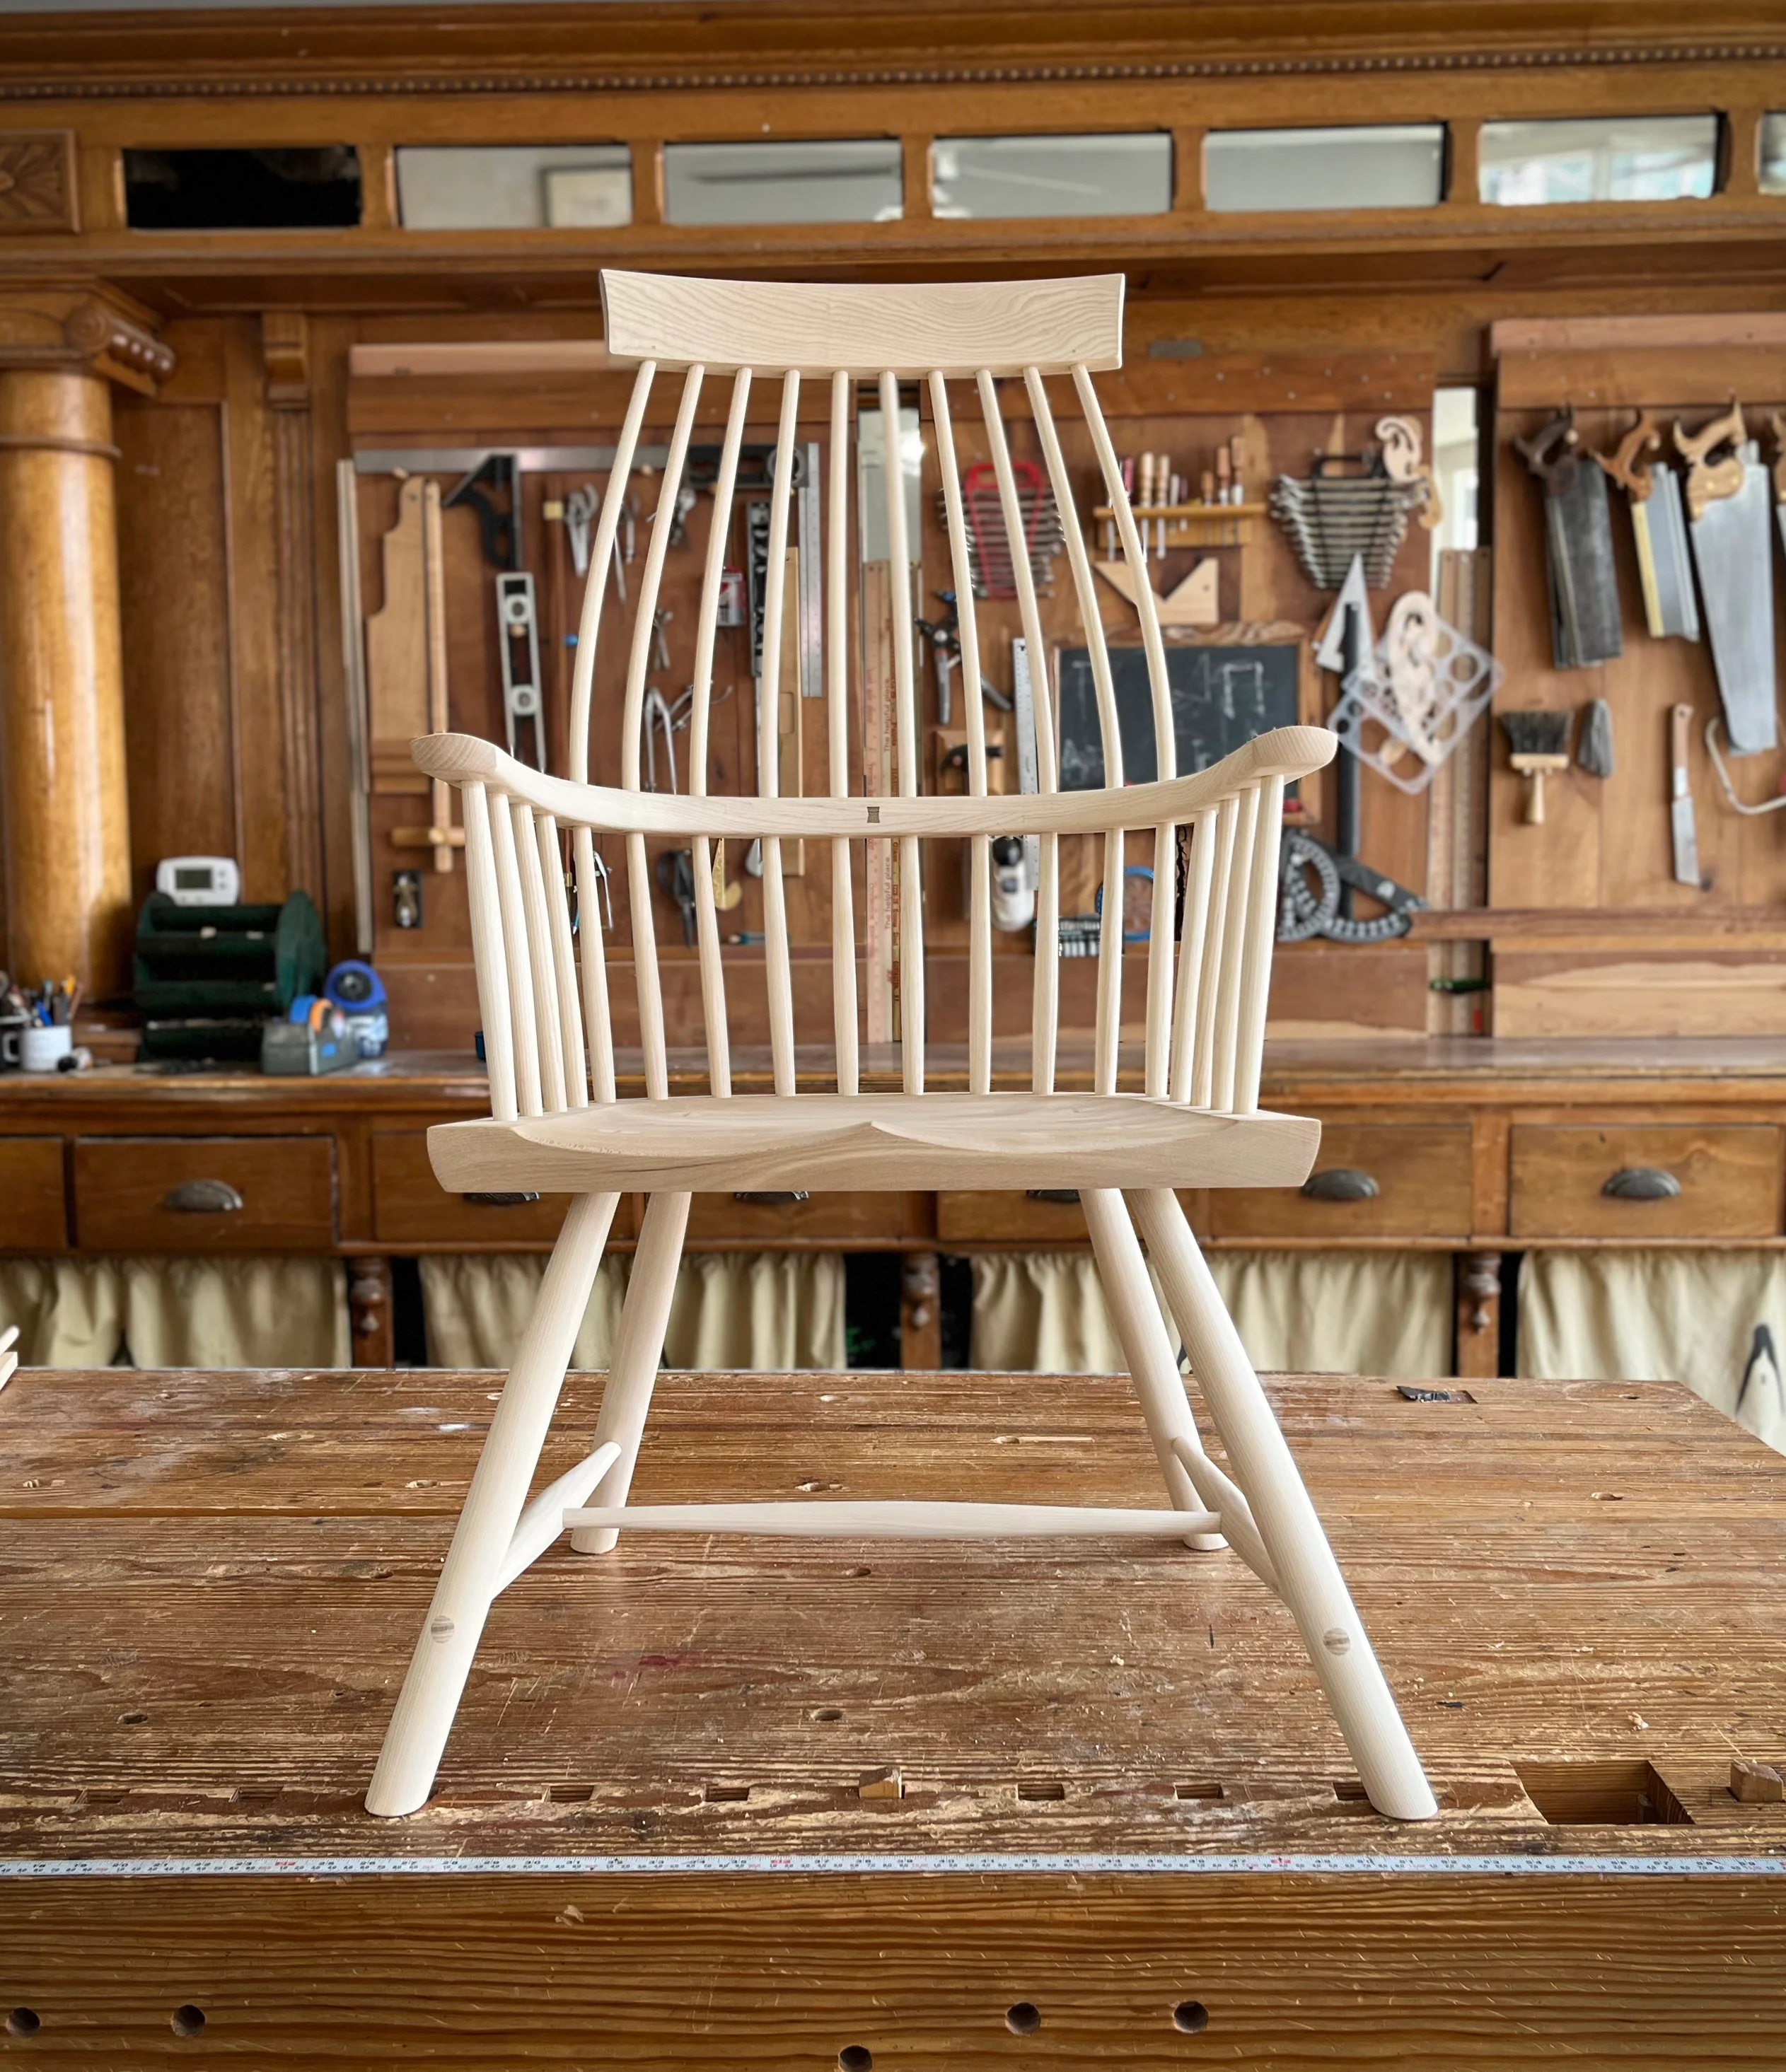
Chairs really do grow on trees! The trick is to find the right tree (and cut it down safely), then break it down for the best yield to make straight, strong parts that will result in a chair that outlasts you. Rudy Everts, a green woodworker from Europe, shows you how using only a small set of tools.
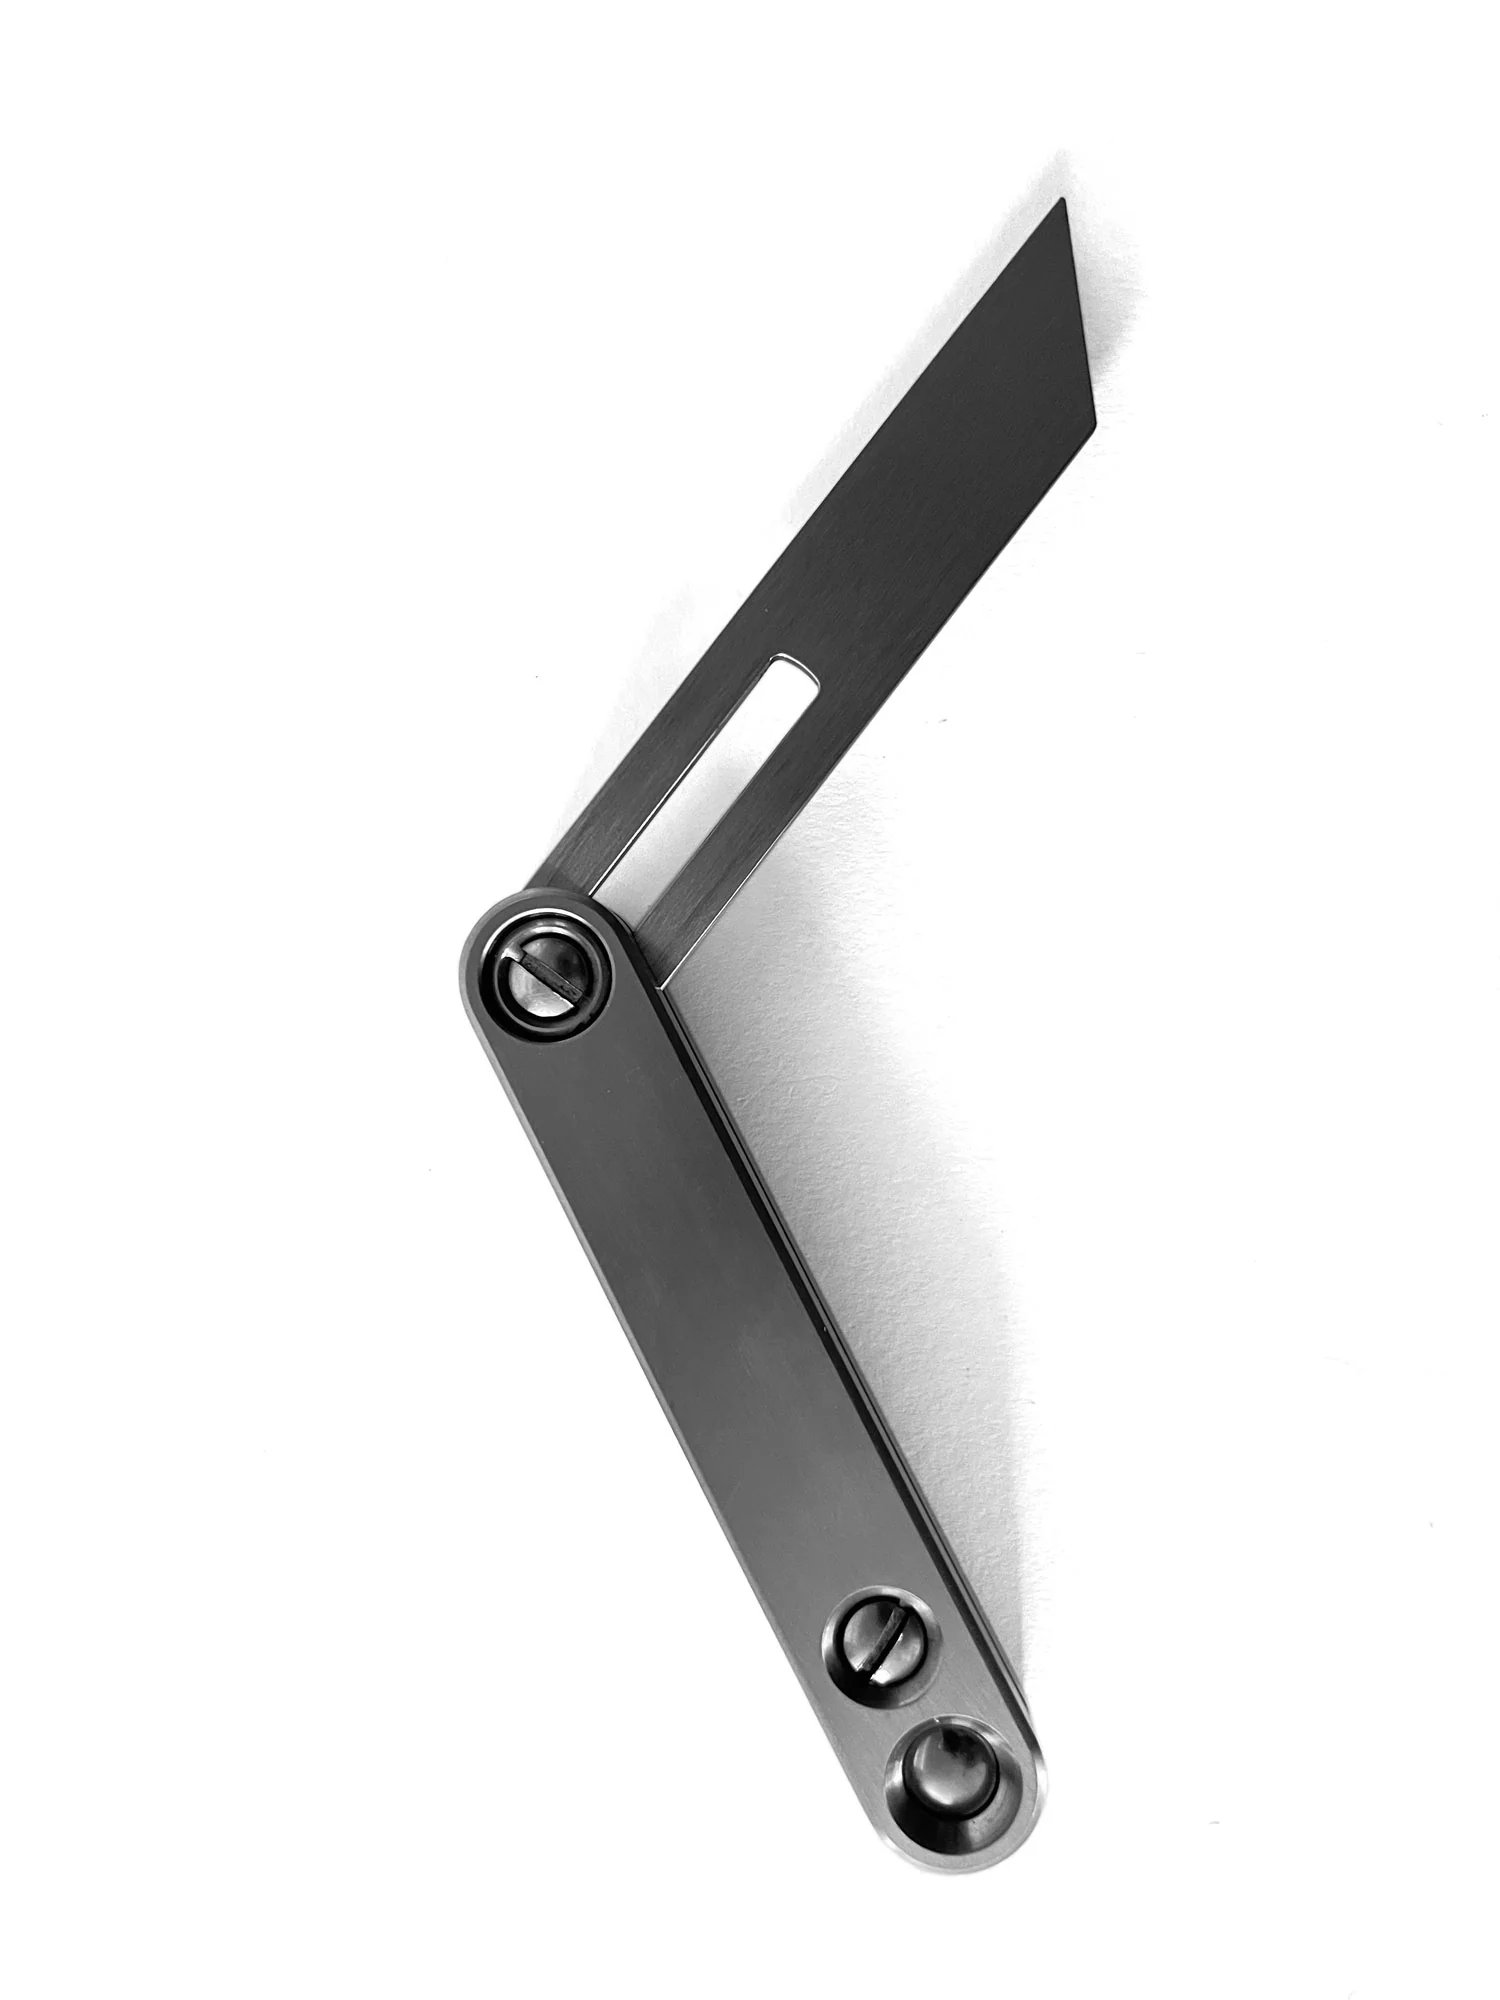
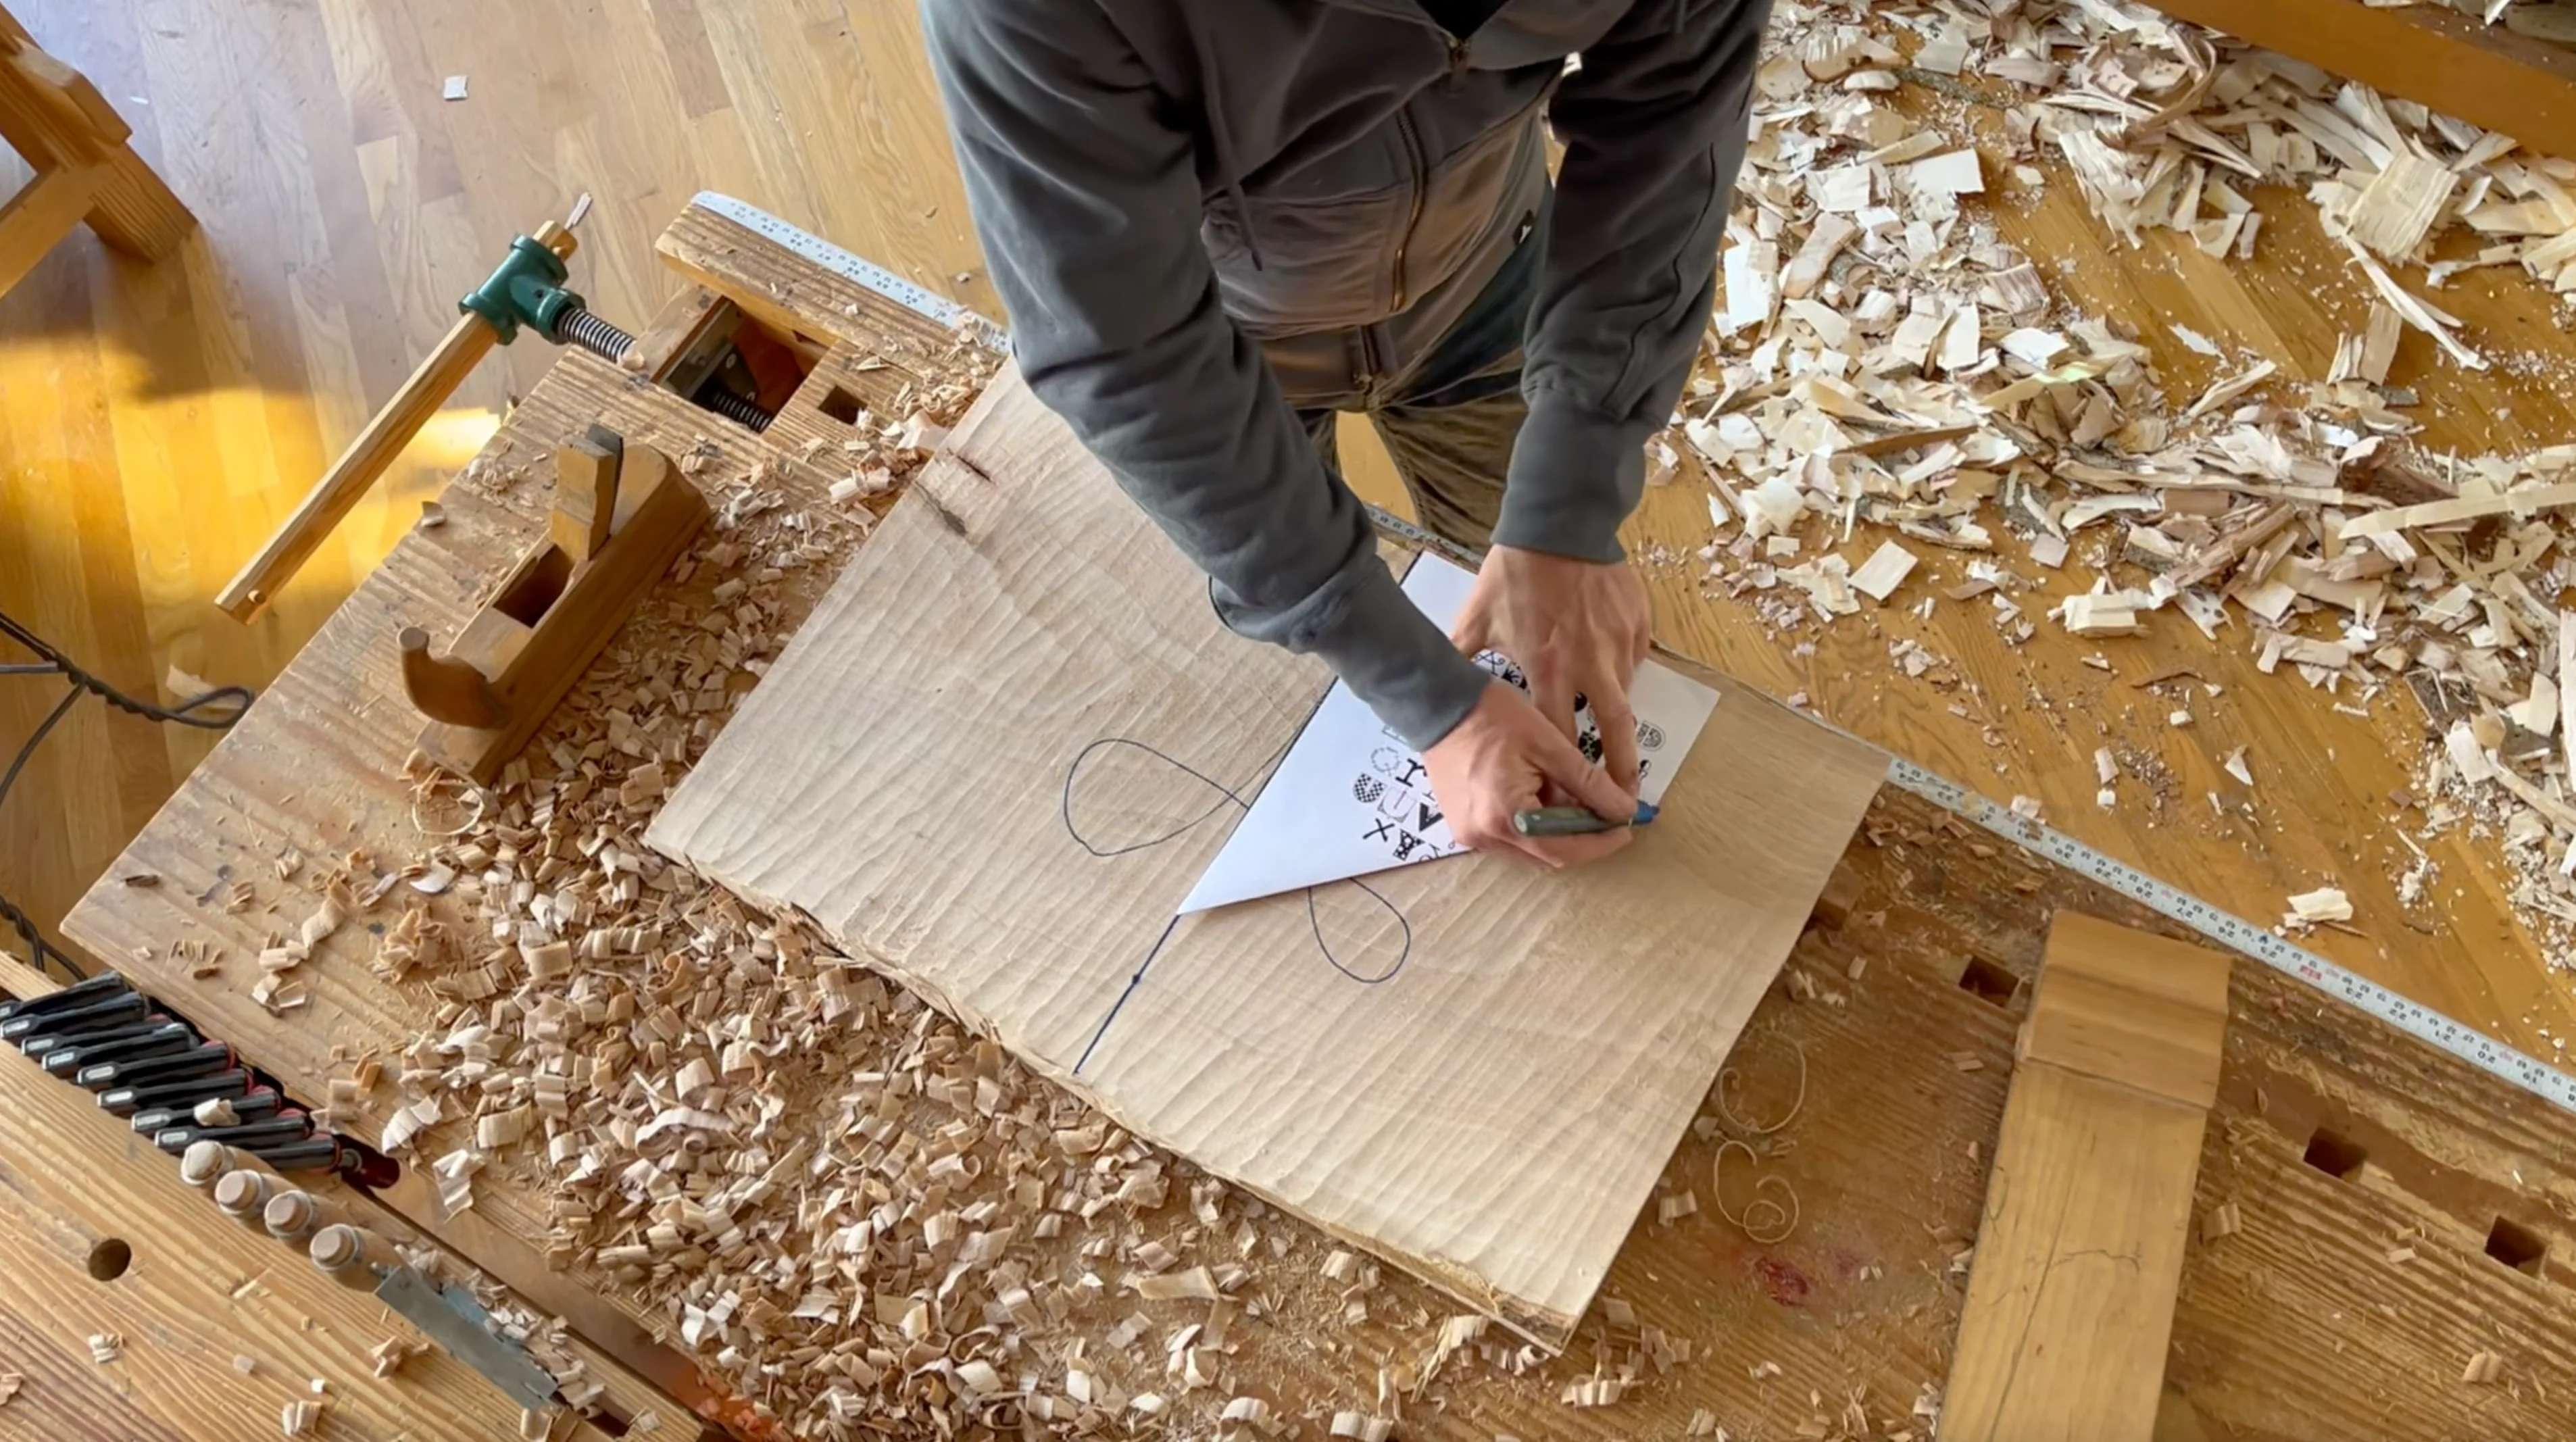
Rudy walks you through this project from start to finish – and it's easier than you might think. There are no complicated plans or tricky math required – it takes just a simple layout trick (using a single piece of 8-1/2" x 11" paper!) and a pair of dividers to determine the layout for this strong and handsome chair. And Rudy's techniques for drilling the stick mortises result in a no-sweat assembly.
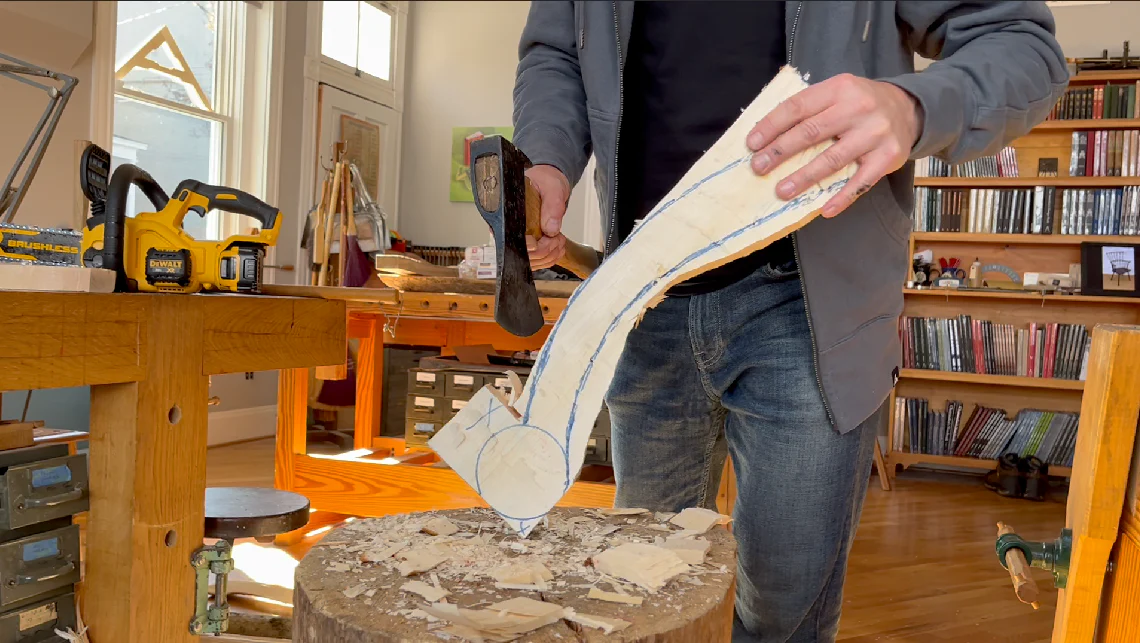
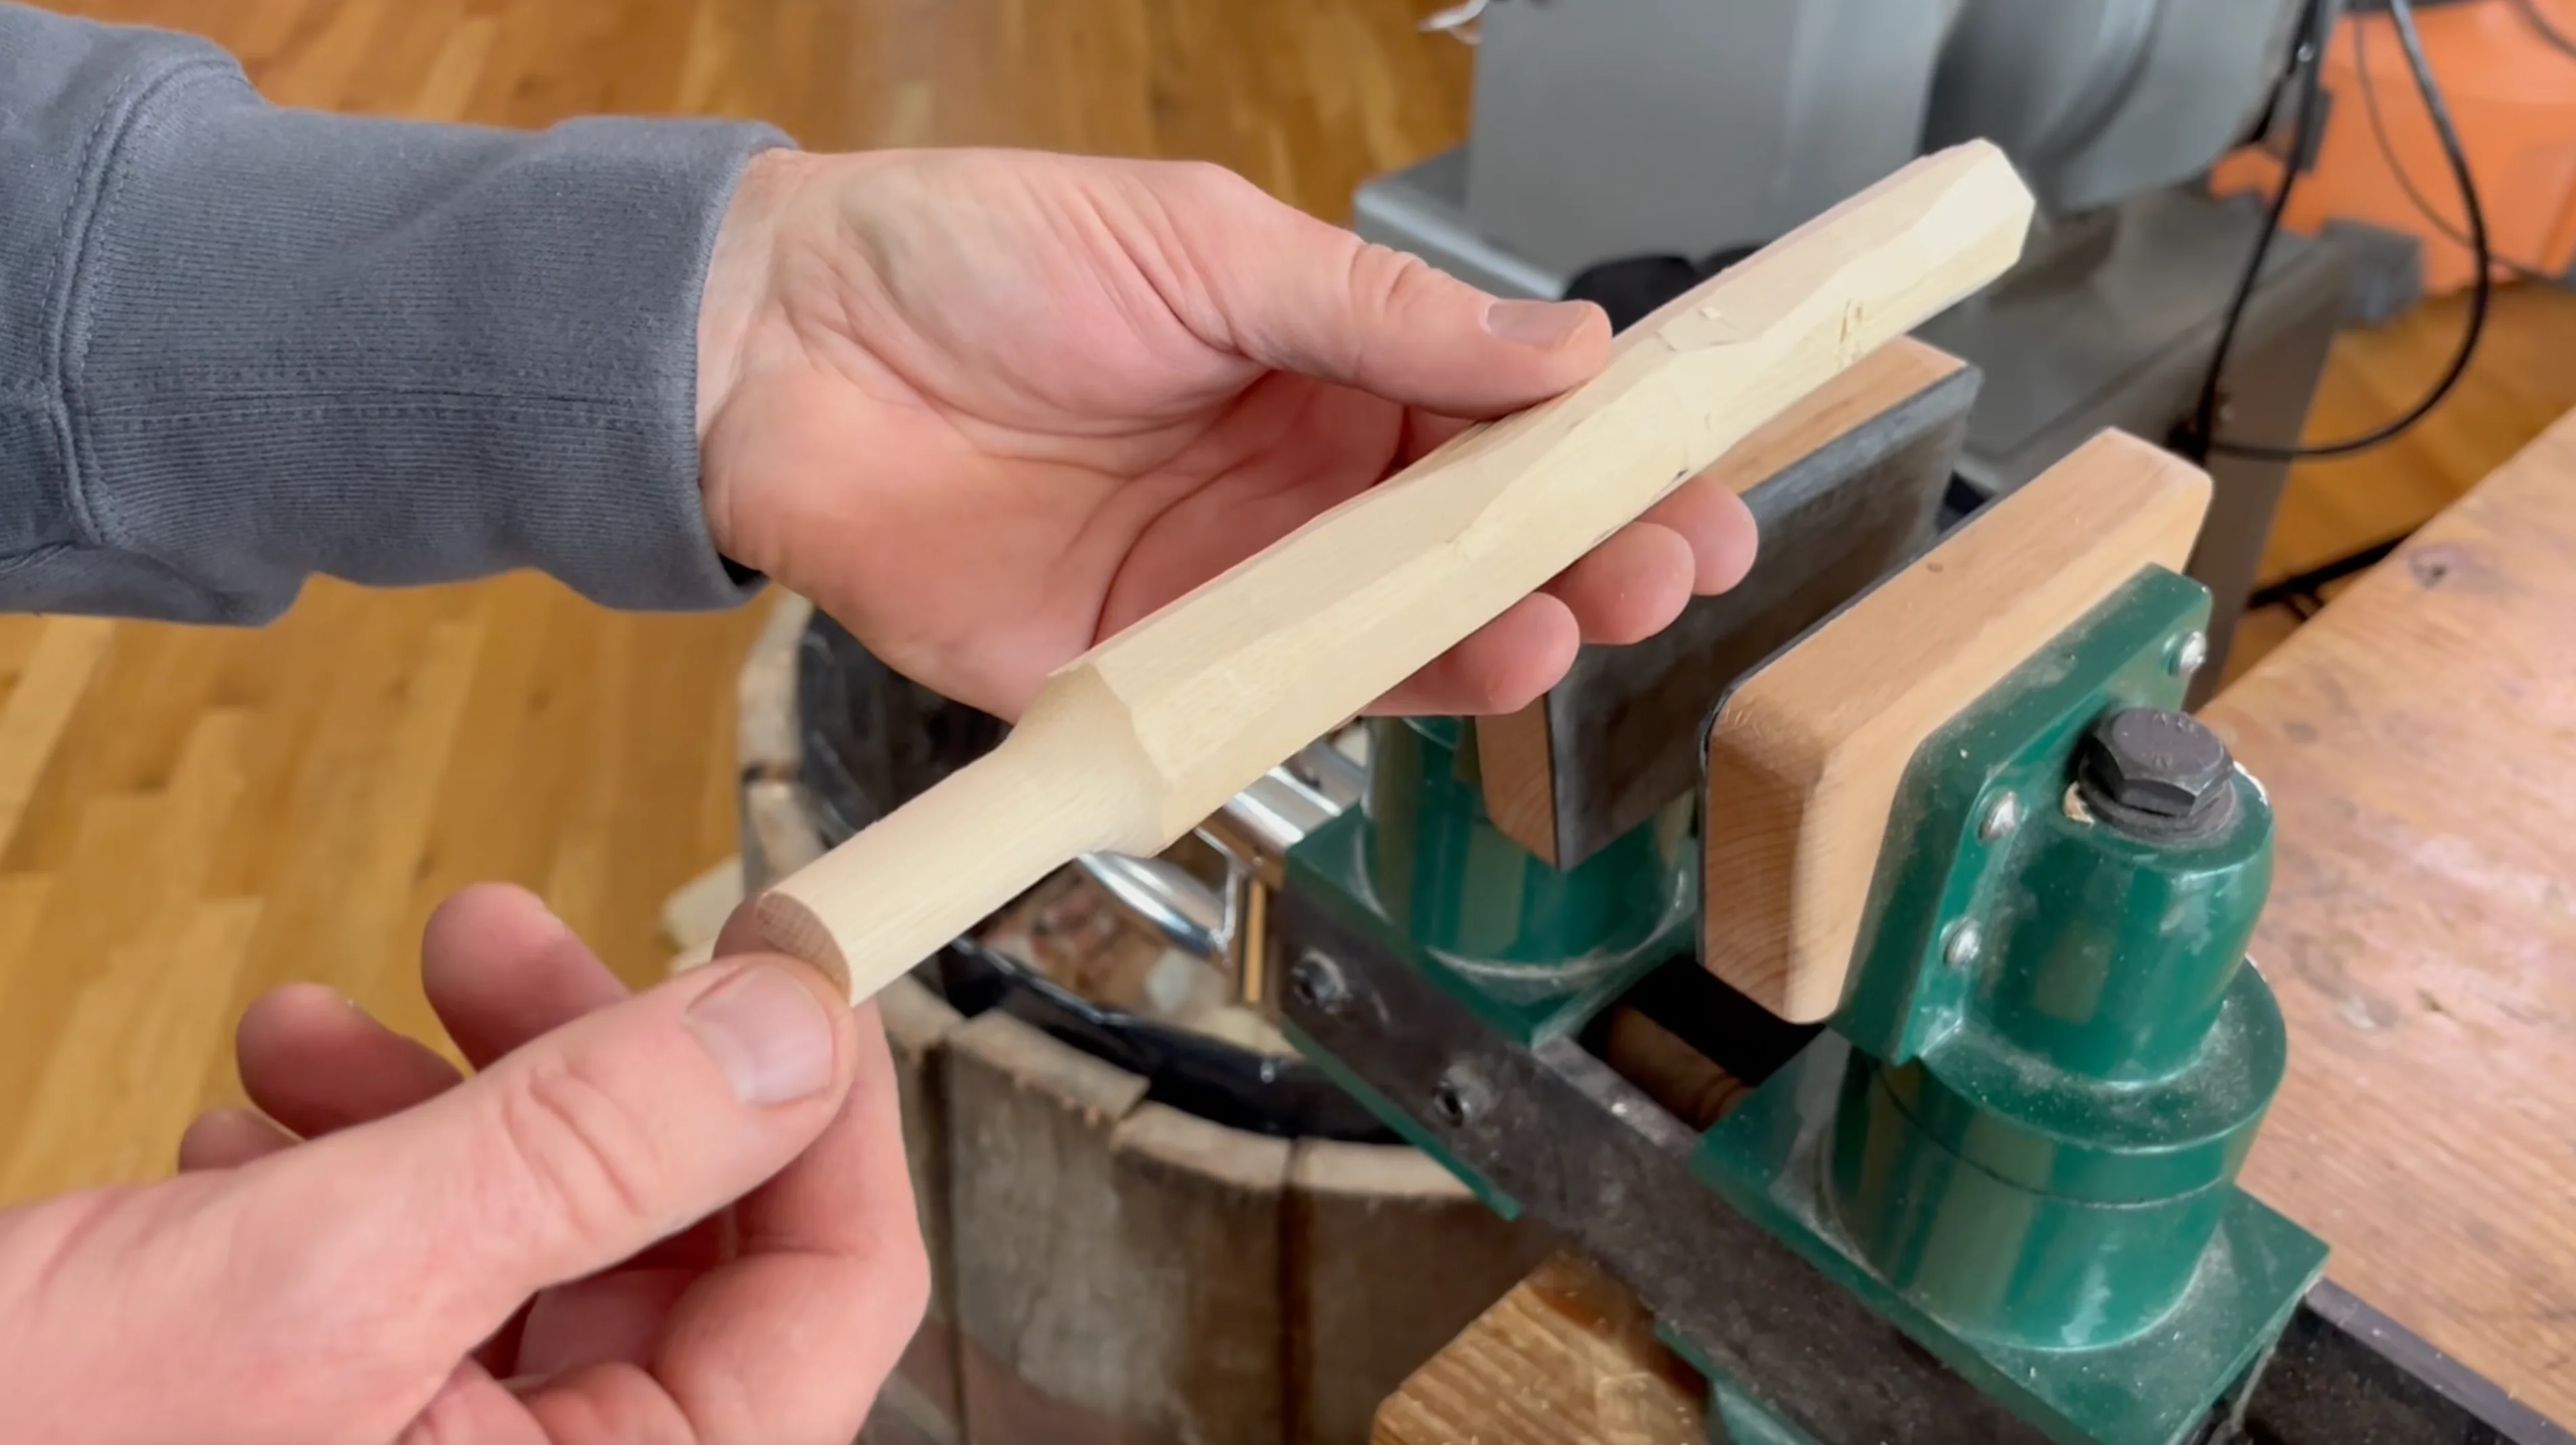
First, you'll take a trip to the woods to harvest a suitable log. Then Rudy teaches you how to rive and split green wood parts for the legs, sticks, arms and crest, then roughly shape them with a hatchet. The seat is made with wood from the lumberyard (though it can be made from riven stock if your log is large enough).
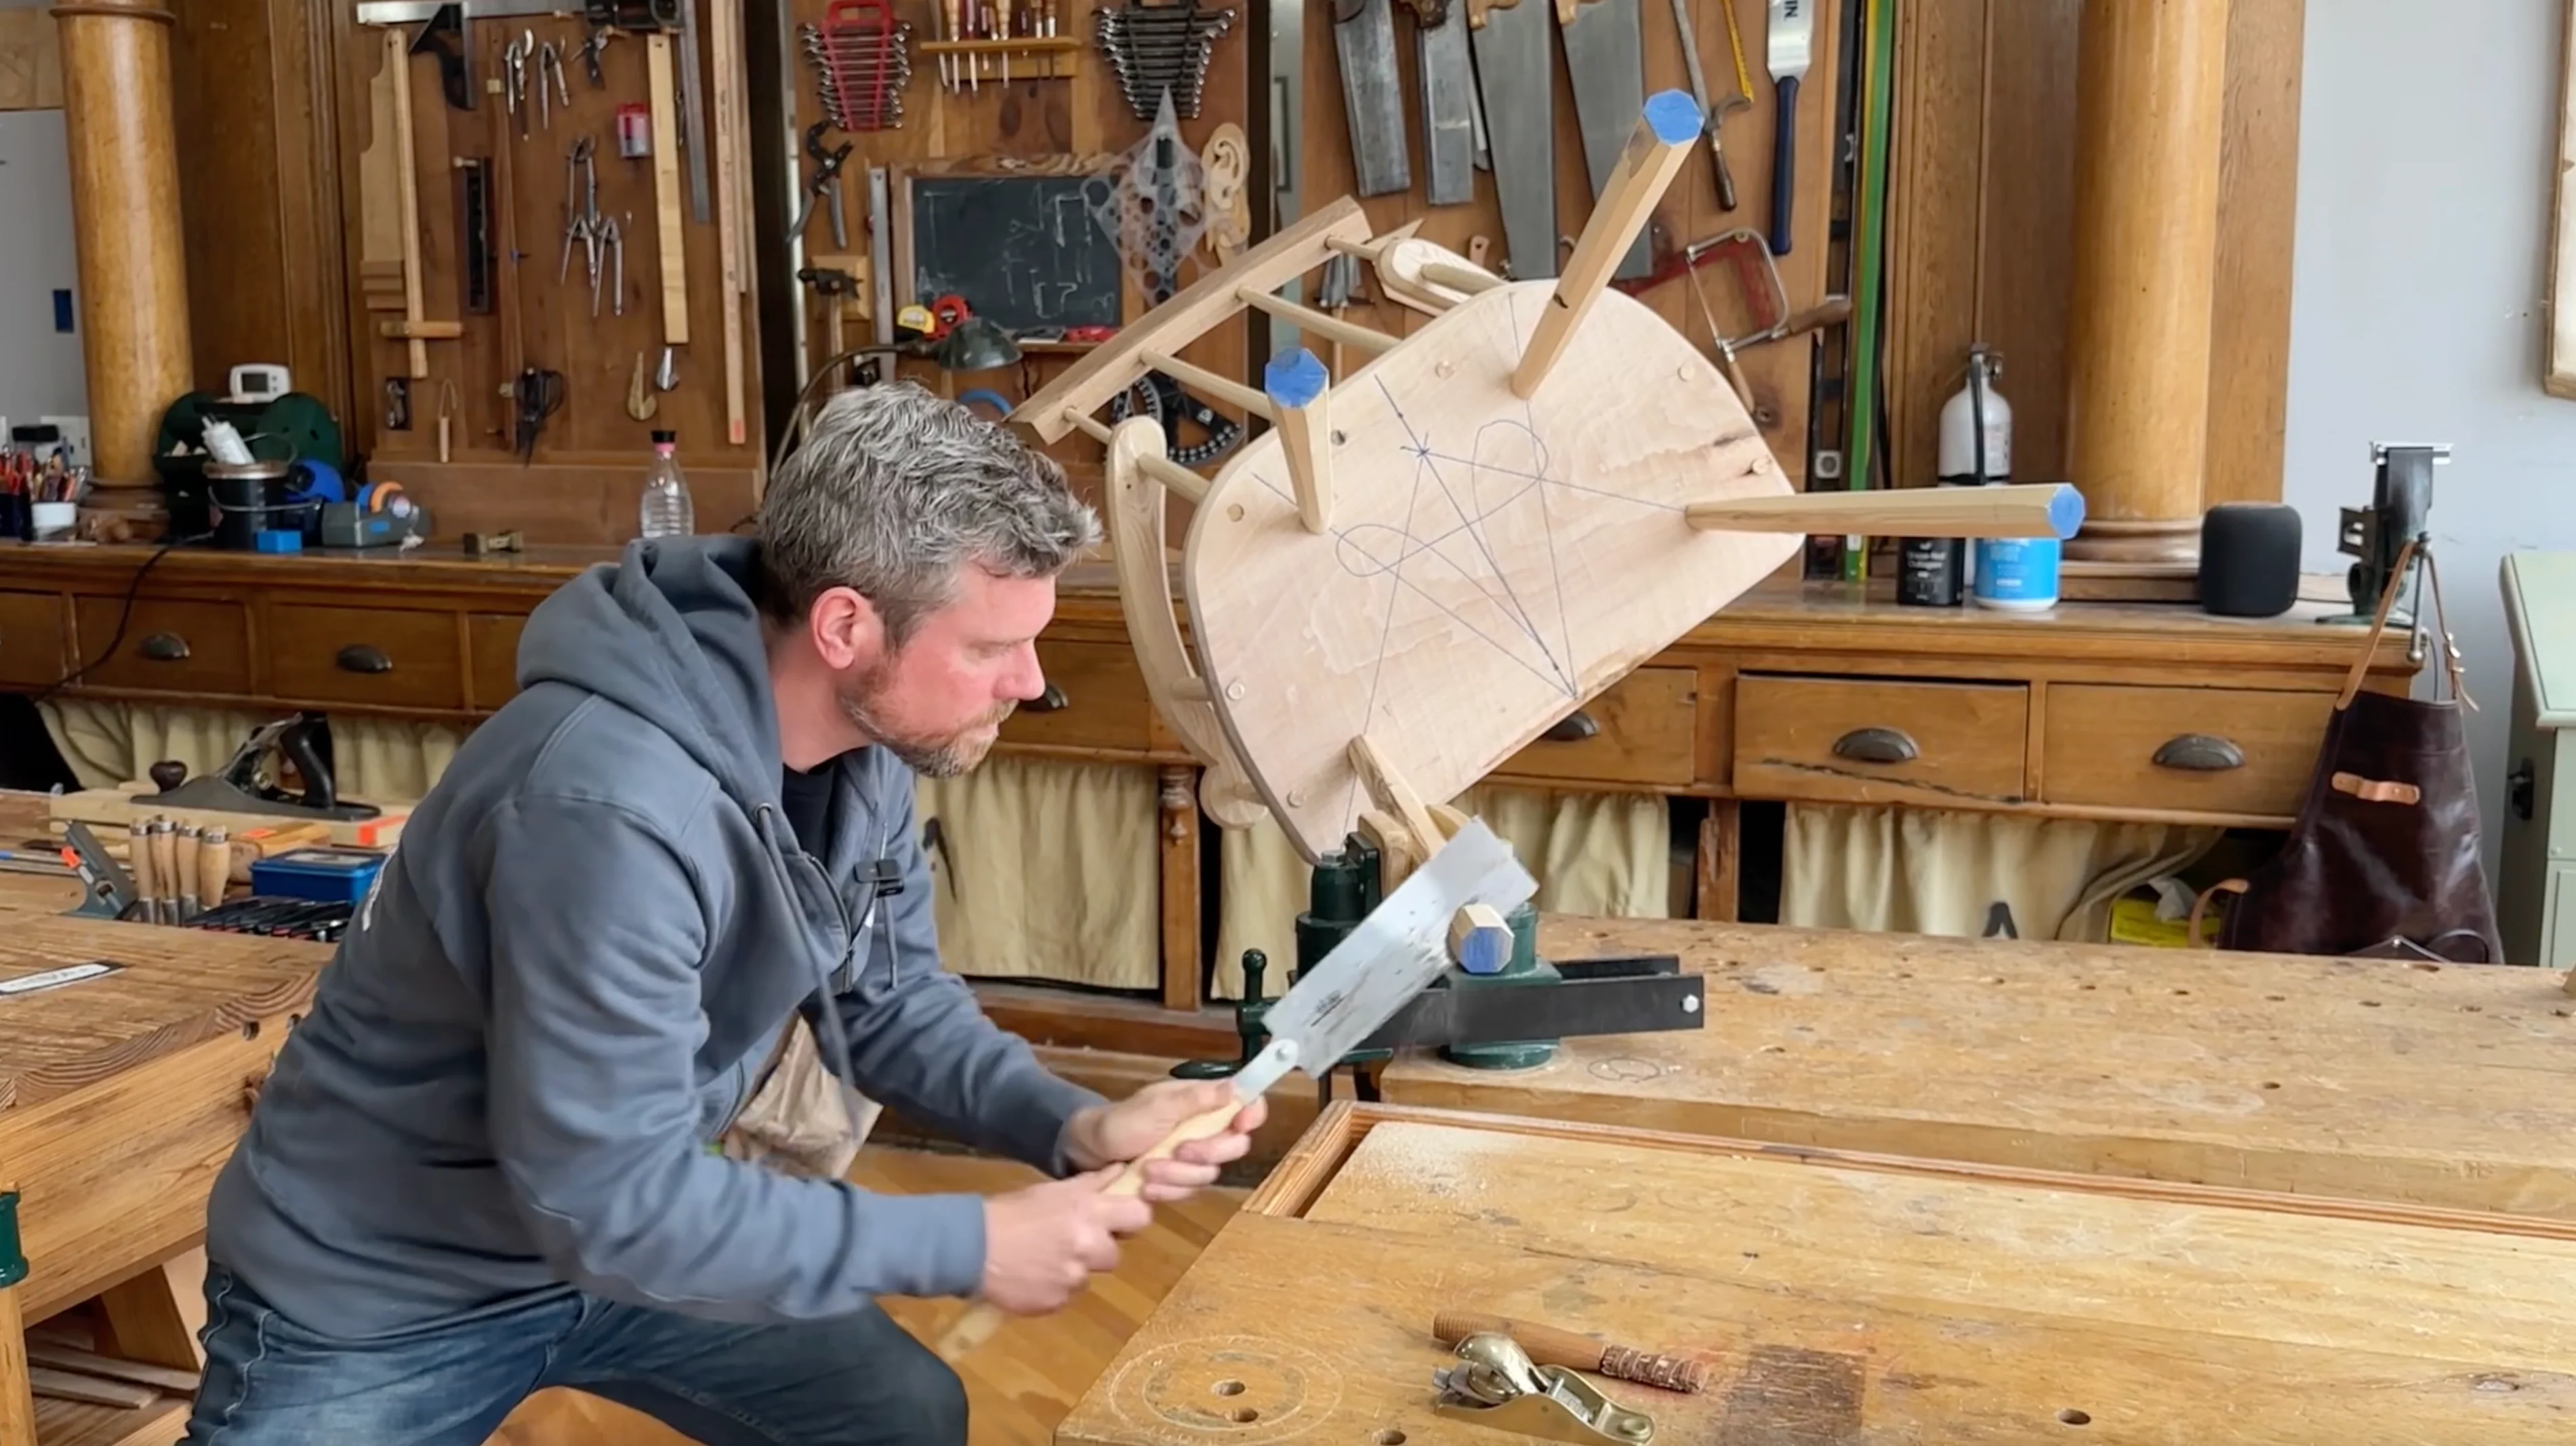
Once the pieces are to rough shape, you'll learn to wield a drawknife and handplanes to refine the parts before Rudy teaches you his simple one-tool seat-mortise layout (that piece of paper!).
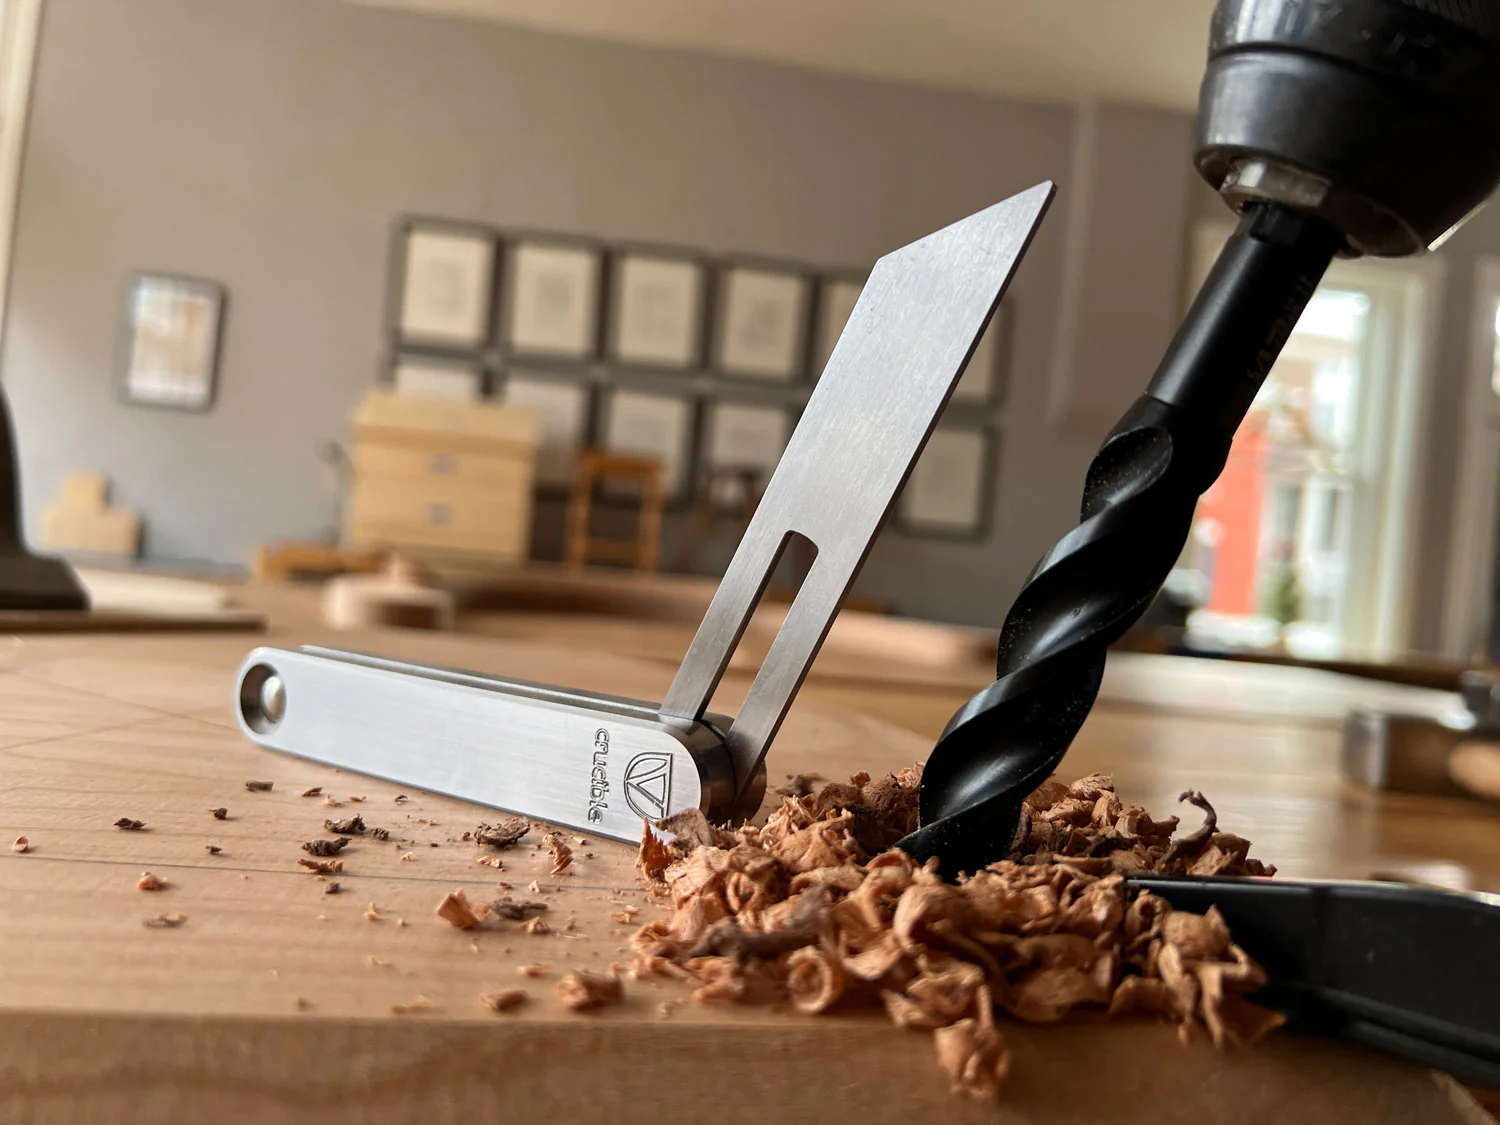
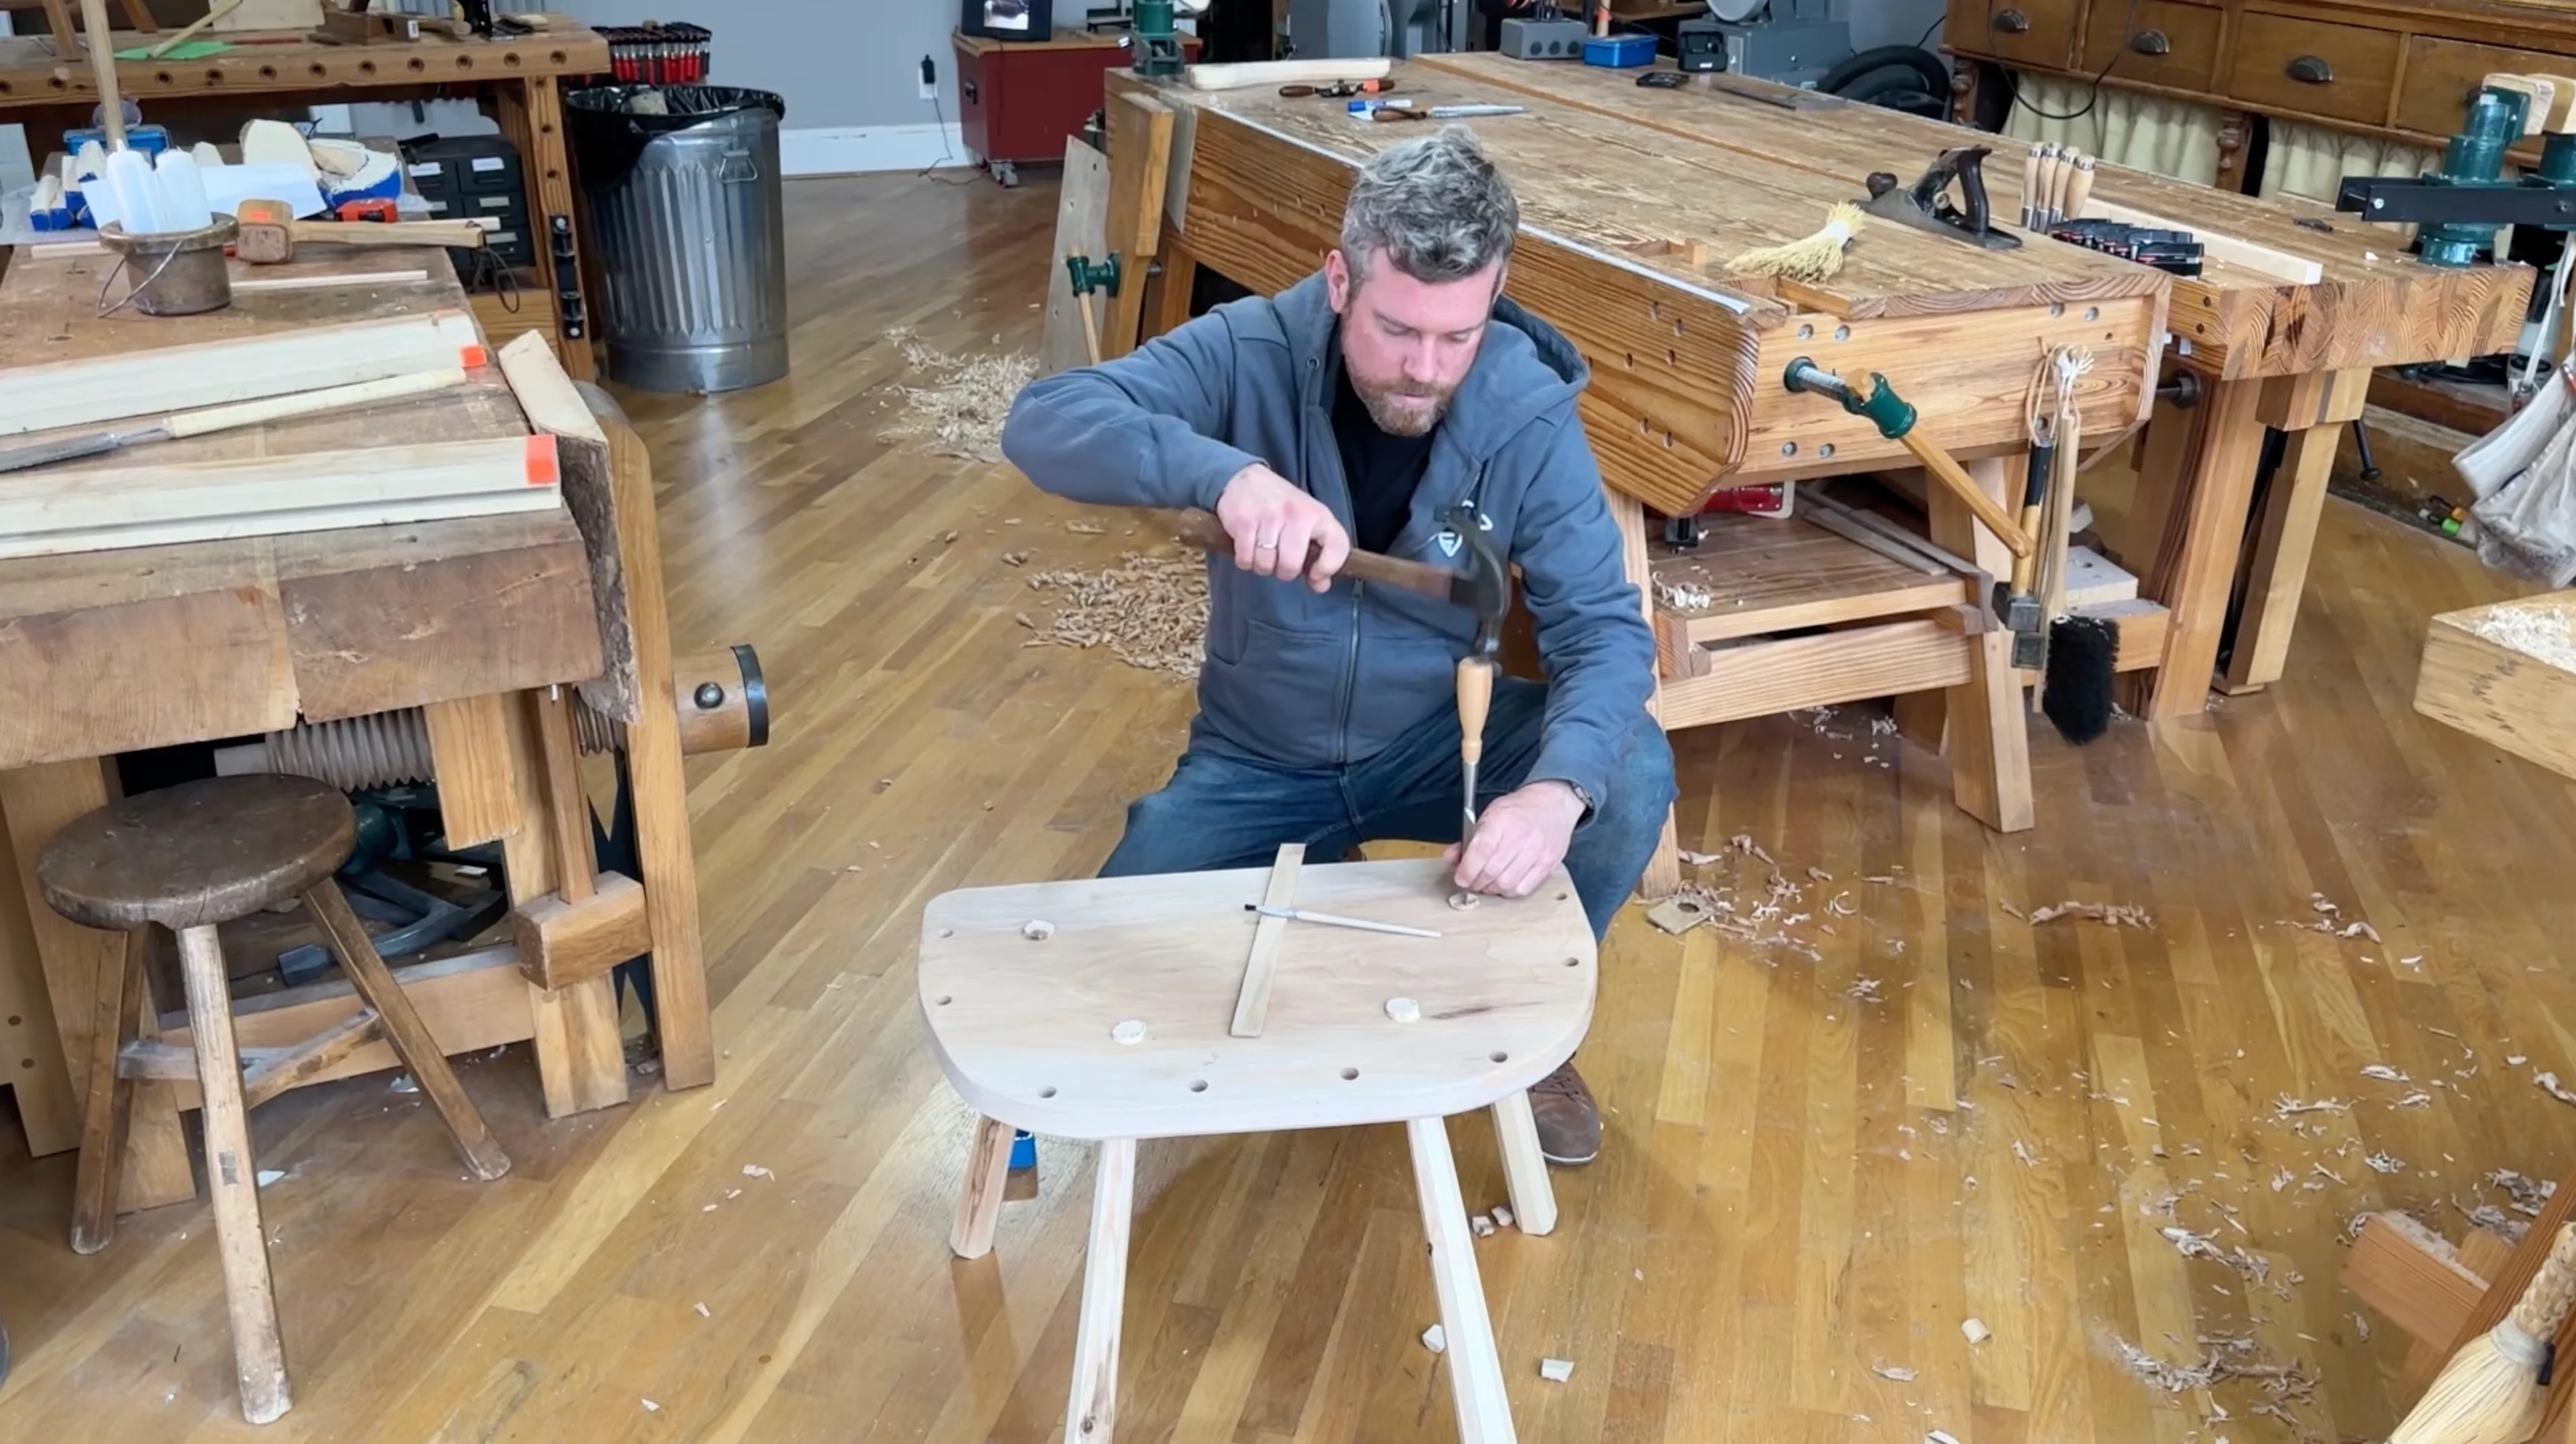
And of course, he'll walk you through drilling all the leg and stick mortises, glue-up and wedging, cutting the legs to length and cleaning up all surfaces before finishing (in this case, paint).
Technical notes: Like all Lost Art Press videos, “Make a Chair from Green Wood” is free of any DRM (Digital Rights Management). It can be watched one of two ways. You can stream it (after logging into your account here at Lost Art Press). Or you can download the video and put it on any device.
After you check out, you will receive an email that will give you access to all the video files and pdfs for the project.
Chapters
Introduction 4:24
1. Harvesting 1:15
2. Splitting & Hewing 29:12
3. Seat Blank 11:16
4. Leg Tenons 11:06
5. Sticks 13:41
6. Arm Shape 12:28
7. Crest Shape 4:55
8. Seat Shape & Stick Mortise Layout 11:26
9. Drilling Stick Mortises 13:33
10. Undercarriage Assembly 11:10
11. Upper Carriage Assembly 10:21
12. Crest 7:46
13. Leveling the Legs 6:20
14. Conclusion 1:50
Tools
Flat-bottom spokeshave, round-bottom spokeshave, block plane, jack plane, scraper,
ryoba saw, flush-cut saw, single-bevel hatchet, drawknife, 5/8" tenon cutter, 5/8" drill bit (long), 1" drill bit (long), piece of paper, rasp, carving knife, hammer, mallet, chisel, scorp, hide glue.
Original: $35.00
-70%$35.00
$10.50More Images
Video: Make a Chair from Green Wood with Rudy Everts
Chairs really do grow on trees! The trick is to find the right tree (and cut it down safely), then break it down for the best yield to make straight, strong parts that will result in a chair that outlasts you. Rudy Everts, a green woodworker from Europe, shows you how using only a small set of tools.
Rudy walks you through this project from start to finish – and it's easier than you might think. There are no complicated plans or tricky math required – it takes just a simple layout trick (using a single piece of 8-1/2" x 11" paper!) and a pair of dividers to determine the layout for this strong and handsome chair. And Rudy's techniques for drilling the stick mortises result in a no-sweat assembly.
First, you'll take a trip to the woods to harvest a suitable log. Then Rudy teaches you how to rive and split green wood parts for the legs, sticks, arms and crest, then roughly shape them with a hatchet. The seat is made with wood from the lumberyard (though it can be made from riven stock if your log is large enough).
Once the pieces are to rough shape, you'll learn to wield a drawknife and handplanes to refine the parts before Rudy teaches you his simple one-tool seat-mortise layout (that piece of paper!).
And of course, he'll walk you through drilling all the leg and stick mortises, glue-up and wedging, cutting the legs to length and cleaning up all surfaces before finishing (in this case, paint).
Technical notes: Like all Lost Art Press videos, “Make a Chair from Green Wood” is free of any DRM (Digital Rights Management). It can be watched one of two ways. You can stream it (after logging into your account here at Lost Art Press). Or you can download the video and put it on any device.
After you check out, you will receive an email that will give you access to all the video files and pdfs for the project.
Chapters
Introduction 4:24
1. Harvesting 1:15
2. Splitting & Hewing 29:12
3. Seat Blank 11:16
4. Leg Tenons 11:06
5. Sticks 13:41
6. Arm Shape 12:28
7. Crest Shape 4:55
8. Seat Shape & Stick Mortise Layout 11:26
9. Drilling Stick Mortises 13:33
10. Undercarriage Assembly 11:10
11. Upper Carriage Assembly 10:21
12. Crest 7:46
13. Leveling the Legs 6:20
14. Conclusion 1:50
Tools
Flat-bottom spokeshave, round-bottom spokeshave, block plane, jack plane, scraper,
ryoba saw, flush-cut saw, single-bevel hatchet, drawknife, 5/8" tenon cutter, 5/8" drill bit (long), 1" drill bit (long), piece of paper, rasp, carving knife, hammer, mallet, chisel, scorp, hide glue.
Product Information
Product Information
Shipping & Returns
Shipping & Returns
Description
Chairs really do grow on trees! The trick is to find the right tree (and cut it down safely), then break it down for the best yield to make straight, strong parts that will result in a chair that outlasts you. Rudy Everts, a green woodworker from Europe, shows you how using only a small set of tools.
Rudy walks you through this project from start to finish – and it's easier than you might think. There are no complicated plans or tricky math required – it takes just a simple layout trick (using a single piece of 8-1/2" x 11" paper!) and a pair of dividers to determine the layout for this strong and handsome chair. And Rudy's techniques for drilling the stick mortises result in a no-sweat assembly.
First, you'll take a trip to the woods to harvest a suitable log. Then Rudy teaches you how to rive and split green wood parts for the legs, sticks, arms and crest, then roughly shape them with a hatchet. The seat is made with wood from the lumberyard (though it can be made from riven stock if your log is large enough).
Once the pieces are to rough shape, you'll learn to wield a drawknife and handplanes to refine the parts before Rudy teaches you his simple one-tool seat-mortise layout (that piece of paper!).
And of course, he'll walk you through drilling all the leg and stick mortises, glue-up and wedging, cutting the legs to length and cleaning up all surfaces before finishing (in this case, paint).
Technical notes: Like all Lost Art Press videos, “Make a Chair from Green Wood” is free of any DRM (Digital Rights Management). It can be watched one of two ways. You can stream it (after logging into your account here at Lost Art Press). Or you can download the video and put it on any device.
After you check out, you will receive an email that will give you access to all the video files and pdfs for the project.
Chapters
Introduction 4:24
1. Harvesting 1:15
2. Splitting & Hewing 29:12
3. Seat Blank 11:16
4. Leg Tenons 11:06
5. Sticks 13:41
6. Arm Shape 12:28
7. Crest Shape 4:55
8. Seat Shape & Stick Mortise Layout 11:26
9. Drilling Stick Mortises 13:33
10. Undercarriage Assembly 11:10
11. Upper Carriage Assembly 10:21
12. Crest 7:46
13. Leveling the Legs 6:20
14. Conclusion 1:50
Tools
Flat-bottom spokeshave, round-bottom spokeshave, block plane, jack plane, scraper,
ryoba saw, flush-cut saw, single-bevel hatchet, drawknife, 5/8" tenon cutter, 5/8" drill bit (long), 1" drill bit (long), piece of paper, rasp, carving knife, hammer, mallet, chisel, scorp, hide glue.